Showing posts with label DIY. Show all posts

Saturday, October 2, 2010

Winding Swiftly

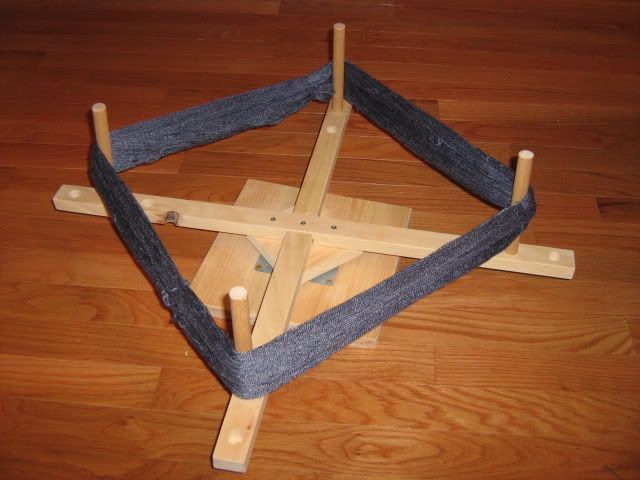
I know that carpentry isn't a craft I share with a lot of my blog friends. But here's the kind of carpentry project a knitter can get behind:
DIY yarn swift

Yes, I have just built myself a yarn swift. It's something I haven't really minded not having. I wind occasional balls by hand without any fuss, and I don't get all that much yarn in skeins. But going from balls to skeins- that's a different story. See, one of the lots of free yarn I got a while back was a whole bagful- probably around 2400 yards of lovely cream sport-weight wool. And I thought 'Hmm. I don't really want to knit an all-cream sweater, but if I dyed some or all of it....'

And I poked around and looked at some dyes but I have enough other projects on my plate that dying the cream wool wasn't something I put any priority on. Enter my mother. My mother is an avid and marvelously skilled quilter, dyes some of her own fabric, and occasionally does workshops on dying. She's planning to have a dye-your-own day at her house and invited me to come and dye all that cream wool. And I said, 'Huzzah! Expert dying instruction.' And then I said, 'Oh, poot. Now I have to skein all that yarn.'

So I priced yarn swifts, and decided they were a little more than I wanted to spend for something that--however useful it would be on an ongoing basis--was really intended to facilitate one project. I considered a niddy noddy, which would have been even easier to build- but that's only really good for skeining, and if I'm going to have something like that lying around, I'd rather be able to wind from it too.

I looked online for people who had built their own, and found several very clever ideas, including people who had built swifts out of Lego and Tinker Toys. But alas, my Tinker Toys have been gone for 30 years. The most applicable plan I found was this one, done by a guy who has a heck of a lot more tools than I do. It's gorgeous. I figured that I could probably do something similar but simplify it a little- maybe substitute a square base for his elegantly crossed legs. But looking it over carefully, there was one aspect of the design I didn't care for--the way the armature is tensioned. It seemed to me that there could be some wobble in the arms. The arms basically turn on a single central bolt, which is tensioned using a washer, nut and wing-nut combination. What I really wanted was in that position was a bearing, the kind with top and bottom races, like a lazy susan. I have a little lazy susan for the kitchen, which I mainly use for frosting layer cakes, and I briefly contemplated sacrificing it for the cause. But it's plastic and I'd have had a better-than-even chance of ruining it and not getting a usable swift.

So I went back to the internet, and lo and behold, I found that you can get a four-inch lazy susan bearing at the hardware store (they stock it with cabinet hardware). Well. That simplified the whole design considerably. In fact, I think I could have made it even simpler by just mounting the top bearing plate to the arms and letting the whole thing spin on the bottom plate, but I wanted more stability, and something just a bit better looking. So I yanked some scrap out of the scrap lumber bin in the workshop and put this together in a couple of evenings. If I say so myself, it works extremely well. It spins quietly and easily on the bearing. For the speeds and loads this will see, it doesn't even need oil (the bearing is rated for something like 300 lbs). The price was right- less than $6 for the bearing and everything else I had on hand. Here's a photo of the pieces unassembled (you can click on either photo to enlarge them):
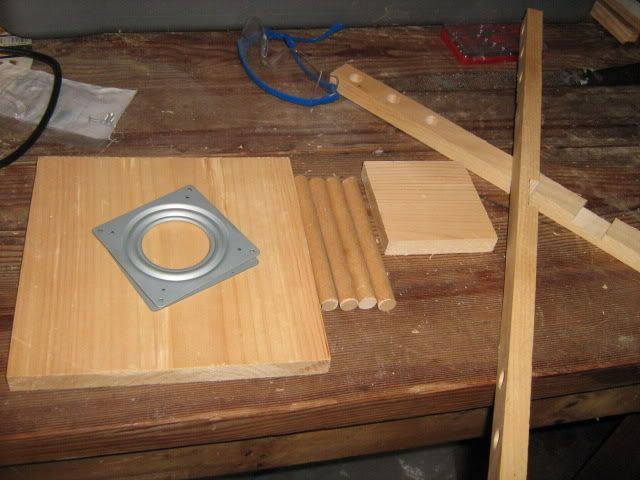
pieces of yarn swift

Components list:
wood base- 9" square by 3/4" thick
wood top - 4 1/4" square by 3/4" thick
1 4" four-inch lazy susan bearing
2 arms 26" long by 1 1/4 wide by 3/4" thick (1x2 or 1x1 would work fine)
4 pegs 5/8" diameter by 6" long
3 wood screws 1 1/2" long
8 wood screws 1/2" long

Tools:
drill
drill guide (optional- I found it useful for keeping the peg holes straight)
saw
clamps
router (for notching the arms together, this could also be done with a wood chisel)
screwdriver
sandpaper

Tuesday, August 5, 2008

How Many Engineers Does it Take to Change a Light Bulb?

Or, how a simple task can turn out to be *way* too complicated.

Well, I still haven't finished anything (funny how adding to the number of WIPs does that), and I'll be off-line traveling for the next week, so I thought I'd leave you with a fun story I've been meaning to post from the DIY file.

Once upon a time, the light outside my front door burned out. I kept forgetting and forgetting to change it in the daytime (I don't need to turn on the outdoor light when it was day). But finally I resorted to putting a reminder on my to-do list. So eventually on a sunny Saturday afternoon, I took a new bulb and went out to change it.

And of course it's the kind that has the shade screwed on, so I needed a screwdriver. This should not have been difficult. We have at least two large ones (the smaller ones didn't work- I couldn't get enough leverage). I found numerous other lost tools, including the drill bits (put up three shelves and rehung the doors to the wardrobe, which were taken off to move it during construction), the roundover bit for the router (which I needed for the last custom door), the power planer, which we needed to level the last set of bookcases, and both hand planes (which I didn't need for anything in particular, but should have been on a shelf and not on the floor under a bunch of other crap).

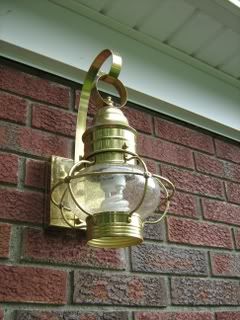
Finally, I went out and bought a new one. Because, really, that's the only surefire way to find a lost tool- replace it. So, I took my brand-new screwdriver and approached the light. Insert blade A into slot B. Twist. Twist harder. I went in and got a chair to stand on so I could get better leverage. I'm not exactly a fragile flower- I'm tall and fairly strong, and I leaned on that screwdriver hard enough to worry about bending the fixture. And still nothing moved. No amount of leverage, no amount of WD-40 on the screws would make the slightest bit of difference. I tried other tools. Nothing. The screws were rusted solidly into the mass. Then I took a closer look at the fixture itself. Rust everywhere. There were even holes rusted through the top. Really it was kind of surprising the area of fixture around the screw hadn't just disintegrated when I tried to get the screws out.

It then occurred to me that that the light itself was probably original to the house (making it 41 years old), and the bulb had probably not been changed in at least eleven years. Why eleven? I'd never changed it before, and I'd been there five years. And the prior owners didn't use the front door (I know, I had to hack through a lot of brush to even find it). And they had the place six years. That put it back to the people before them.

So, now what?

I decided to forget about the screws holding the lampshade on and just dismounted the whole light from the front of the house. Then I went back to the hardware store, and bought a replacement for the whole unit, carefully selecting one that used the same pattern of mounting holes (because the front facade of the house is brick, and I did not want to have to set a new bracket). Naturally the plain inexpensive fixtures all had the wrong sort of mounting hardware, but at that point I just wanted the job done.

So I came home, installed the new lamp. Screwed in the new bulb. Compact fluorescent, so I won't have to worry about it for another eleven years, at least.

The missing screwdrivers turned up several months later. I'm still not speaking to them.

And, as it turns out, it only takes one engineer, three weeks, $60, and a lot of swear words to change a light bulb....
Photobucket

Thursday, July 24, 2008

Open and Shut

So, at the end of the last post, we had a correctly-sized door with solid edges, the hollow bits having been filled in by scrap lumber. I'm told by just about every carpenter I know that putting the door frame in first and then trying to hang the door is extremely difficult. The door needs to be straight and plumb on three axes- up and down, side to side, and in/out.

Fortunately, there isn't any need to do that. My plan (on advice received)was to build a door frame and 'pre-hang' the door. I cut a top lintel a bit wider than the door, and side pieces a little longer than the door-plus-lintel combination. Then I test fit the whole mess in the door opening. Several times. (This involved a lot of trying to balance three boards at once while cursing and dropping them. I believe that part could be omitted, though I'm not sure how.)

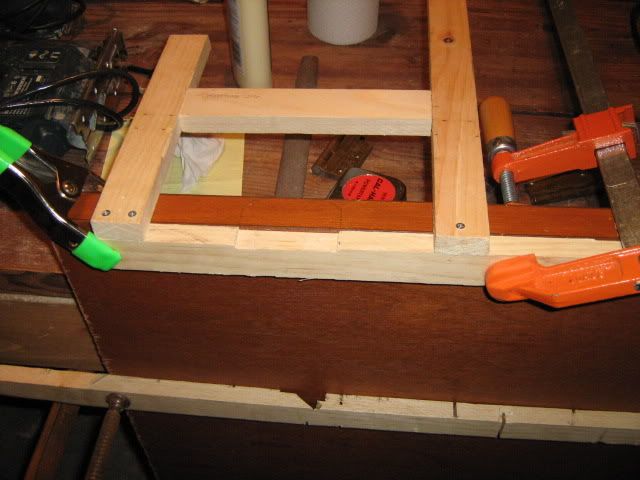
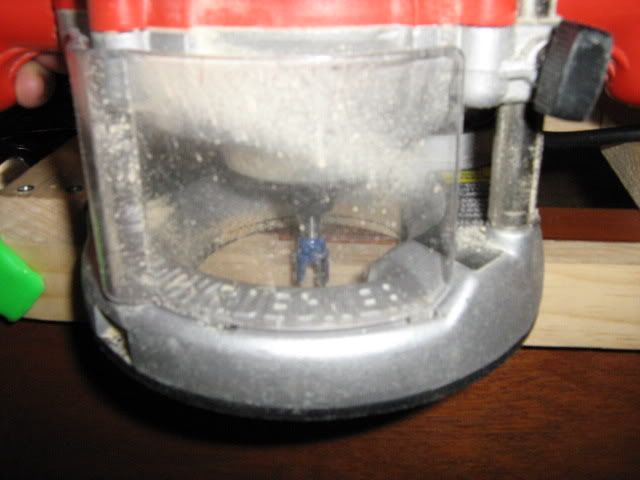
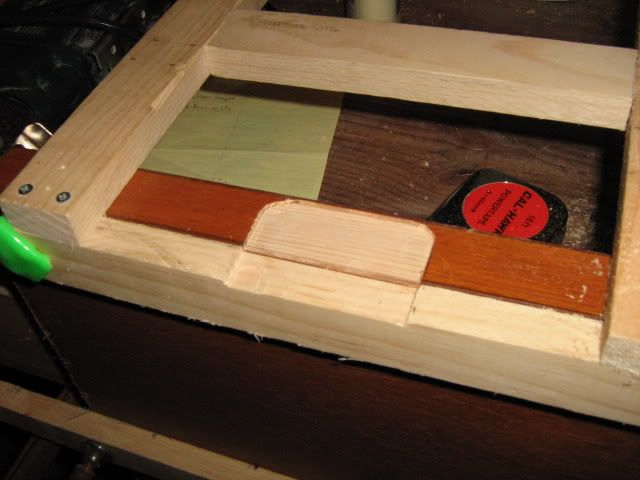
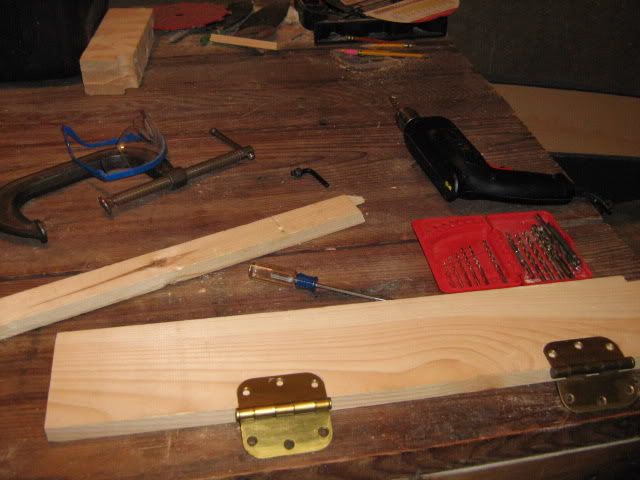
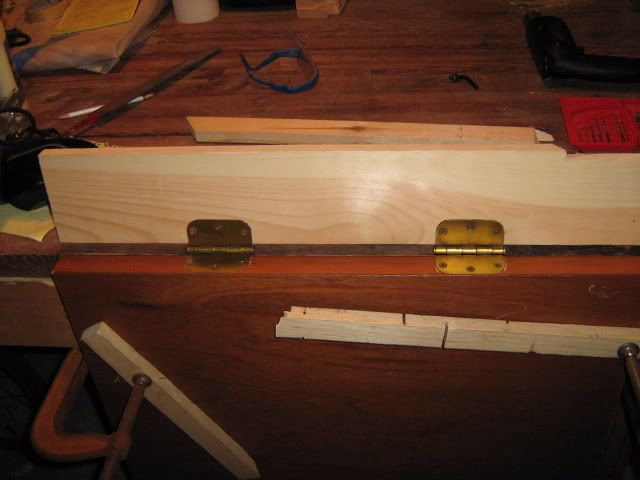
Then it was time to mortise hinges. (The mortise is the little recess on the door and doorframe that the hinge fits into so that there's room to close the door without leaving a huge gap on the hinge side.) This was a part of the project to which I devoted a lot of thought. Traditionally mortising is done with a chisel. Which not only I didn't have, but I strongly suspected that doing it well would take a fair bit of practice that I also didn't have. But I do have a router, and with some thought, I came up with a jig to let me produce mortises the right size for my hinges. After carefully measuring locations on both the frame and the door, I cut.

Photobucket
Photobucket
Photobucket

I would strongly recommend not wearing a shirt with a low neckline for this operation , as it generates a lot of sawdust. And here's the doorframe.

Photobucket
Photobucket

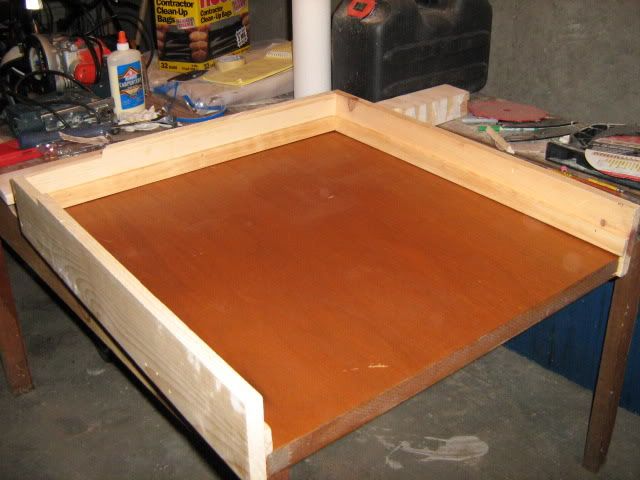
With the door now hinged to one side of the doorframe, I nailed the remaining pieces of the doorframe into a U-shape around the door and laid the whole thing flat on the table. That meant the the door and frame were all on the same level. I took strips of trim and nailed them to the frame behind the door to act as a jamb. (That being the stop that prevents the door from getting pushed into the closet and ripping the hinges out of the wood. Never underestimate leverage.)

Photobucket

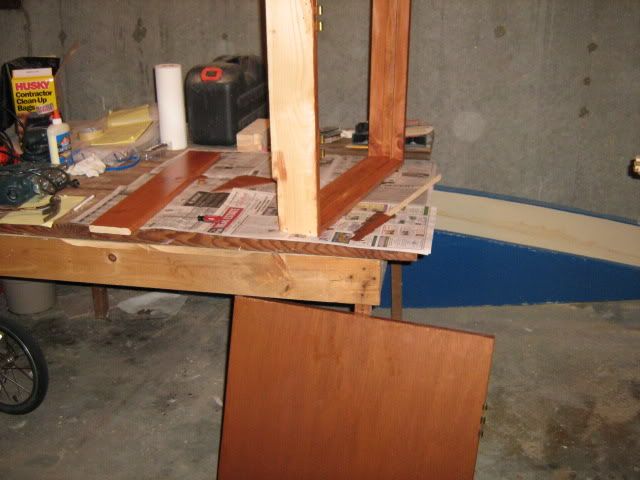
Now was another good time to recheck the fit. And a good thing I did, since the door hole wasn't really square, and I'd been a little too aggressive in trying to get a tight fit. Some filing and planing of the outside of the door frame ensued. Once everything fit, I took the door out of the frame and stained the frame (never stain in situ if you can avoid it, that's my plan). Also, I stained the edges of the door where I'd filled in the scrap lumber.

Photobucket

Then it was finally time to install. This is another highly technical procedure. You put the door into the opening, hammer in bits of wedge-shaped scrap lumber to keep it from moving around, realize that the door is too tight. Curse a lot. Take the wedges out and cut them thinner. Put a level on it. Realize that the hammering has disturbed the level. Finally get everything precariously into balance, and put a bunch of long nails through it to hold the frame in the door opening. Then obsessively recheck levels and finally? Open and shut the new door twenty or thirty times- just because you can.

Photobucket
Photobucket

And last but not least, you cut some trim and nail it over the juncture of the door frame and door opening to hide the mess of wedges and nails back there. Just on the outside, because fortunately I'm not so anal as to worry about what someone hiding in the closet with think of my workmanship. (It was kind of a relief to discover this, after the whole painting thing.) The trim incidentally, was the bit that took a long hiatus before I finally finished.

Photobucket

I used a spare knob I had lying around, since this was such a funny little space and so low, I wasn't concerned about having an actual knob that turned. I also adjusted it to have just enough friction with the door frame to hold it closed without the need for a latch. The other two doors I mentioned? They were a little larger, and so I actually cut out the part of the hollow-core door that had the doorknob, and put in the strike plate, using the router again to cut out the space where the latch goes. Those got finished first, due to the one opening into the dining room (and therefore public) area of the house.

Photobucket

And boy, is it good to have this done. I can't say that hanging doors is the sort of thing I'd recommend to someone looking for a good time. But in the interest in saving a fortune in custom carpentry, I'm very glad to have done it. Or in other words? It feels so good when you stop.

Tuesday, July 15, 2008

The Birth of a Door

Today I finally finished the last step in a fairly extended project. (Not, you understand, that the project has taken so long, but rather I put off doing the last bit for a really embarrassingly long time...)

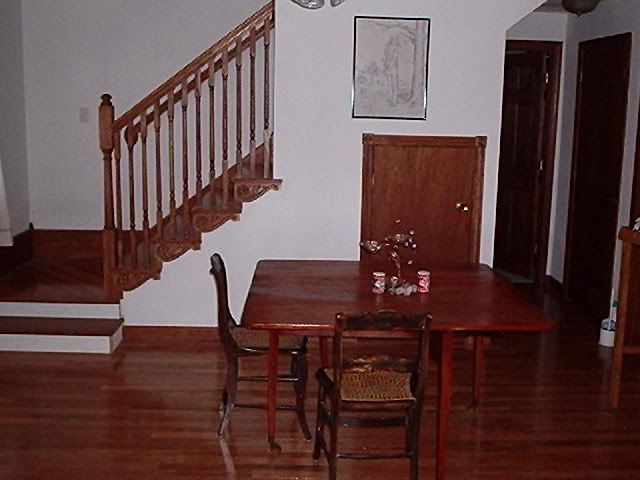
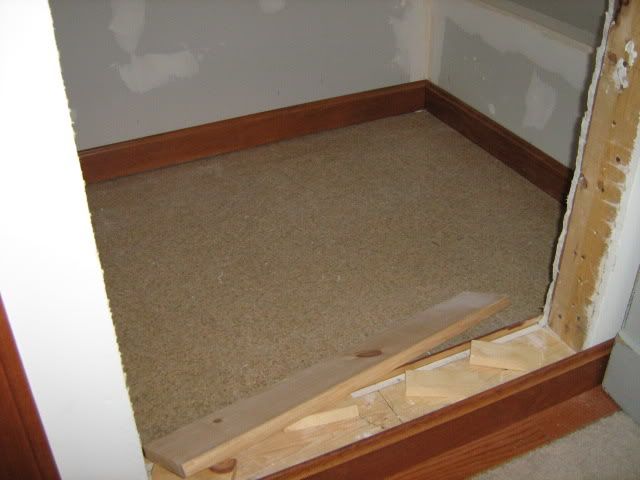
Anyway, it all started two years ago, when we ripped the roof off our house and built a second story. When we put the stairs up to the new second story, it wasn't practical to put a full-size closet underneath. Rather than give up the space under the stairs, however, I opted to leave the space accessible, with openings for half-height doors on both sides, and an even smaller space under the stairs themselves, accessible from the bedroom. Small is relative of course- we can fit four guitar cases in that space.

Anyway, rather than add custom doors to an already expensive project, I decided to build them myself. I even had a plan- there were several hollow core doors that had been removed during construction and weren't needed (the new doors going in were prehung pine-panel doors).

So, I started with a bare opening. Photobucket

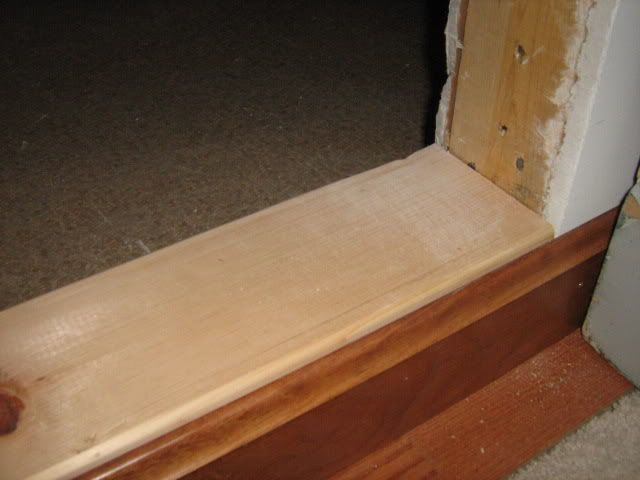
The contractor had installed baseboard across the bottom of the opening, and there was also framing down there. So my first task was to install a few spacers and then put in a sill, that would stick up a bit over the baseboard. The baseboard is pine, so just leaving it hanging in space would be asking for it to get broken. So I rounded over the corners on a length of pine board with the router, and installed the sill:
Photobucket

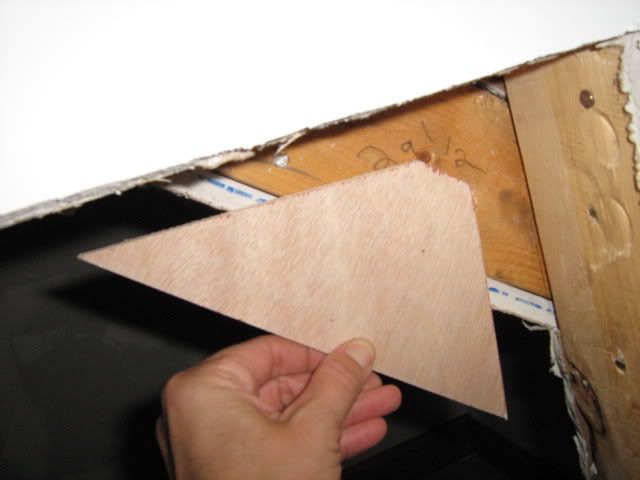
I also covered bare bits of the stair with a scrap of luan plywood (leftover from the backs of bookcases) and a bit of trim, and painted the inside of the closet. Why? I have no idea. I just felt compelled to do it. Apparently I felt compelled to paint my knees and elbows as well- the space was a tad too deep to paint from the outside- and kind of a tight fit for a painter to crawl into and paint from the inside. But I persevered.
Photobucket

Next step was to figure out the size of the door. Of course the opening wasn't square, so I left a little clearance plus space for the frame and arrived at an estimated size. Then I took a chunk of hollow-core door (left from the other door- I had two spares, but why cut up a door if you don't have to?) and cut it down to finished size.
Photobucket
Photobucket

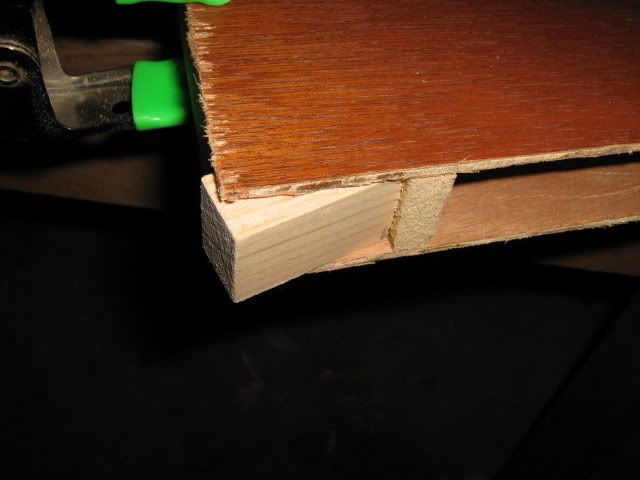
Of course now you can see that the door isn't solid. (Have you ever wondered what was inside a door? I can now tell you that they have spacers made of chipboard or something similar.)
Photobucket

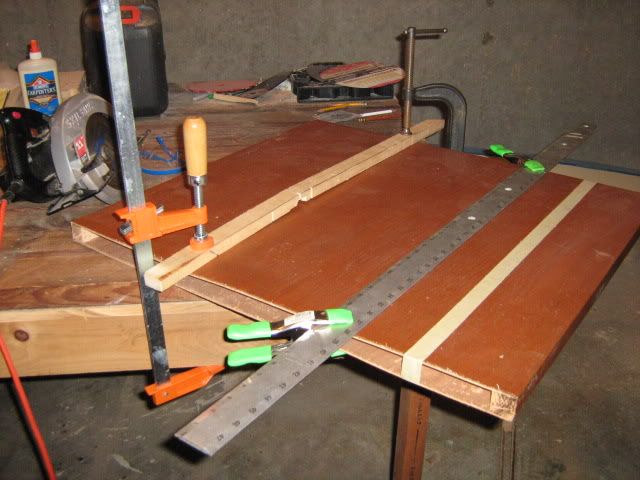
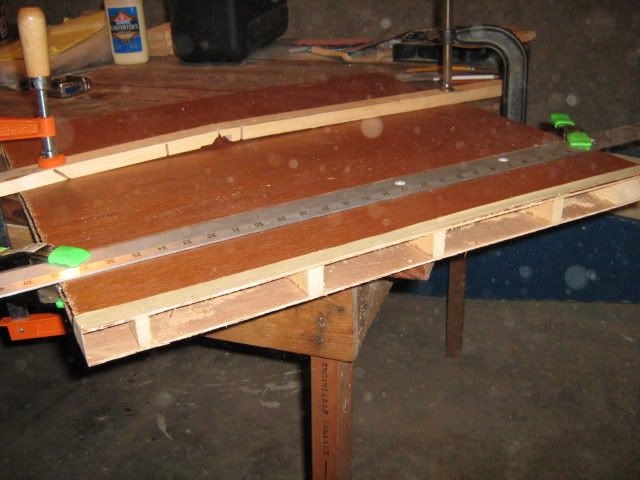
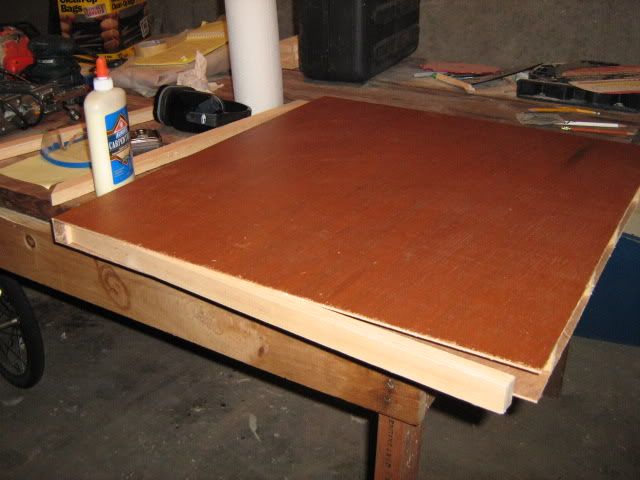
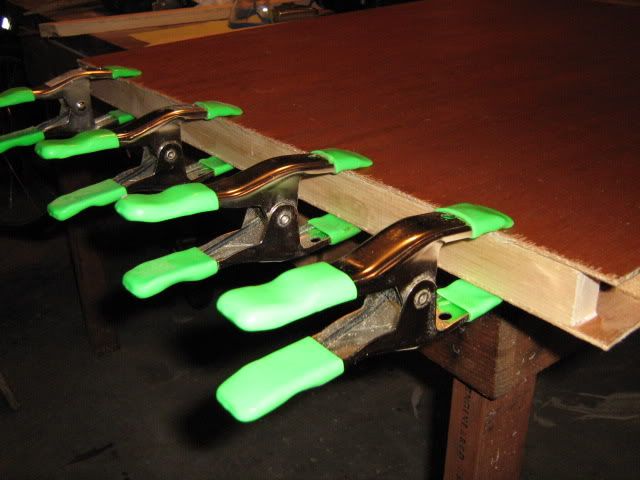
In order to give the door a solid edge all around, I cut pieces of scrap wood to exact size and fitted and glued them all along the unsupported edges.
Photobucket
Photobucket
Photobucket

This was done in stages- mainly because I didn't have enough clamps to do two sides at once- but this is a good place to break. Next post, building the doorframe, mortising hinges, and prehanging the door.