Anyway, it all started two years ago, when we ripped the roof off our house and built a second story. When we put the stairs up to the new second story, it wasn't practical to put a full-size closet underneath. Rather than give up the space under the stairs, however, I opted to leave the space accessible, with openings for half-height doors on both sides, and an even smaller space under the stairs themselves, accessible from the bedroom. Small is relative of course- we can fit four guitar cases in that space.
Anyway, rather than add custom doors to an already expensive project, I decided to build them myself. I even had a plan- there were several hollow core doors that had been removed during construction and weren't needed (the new doors going in were prehung pine-panel doors).
So, I started with a bare opening.
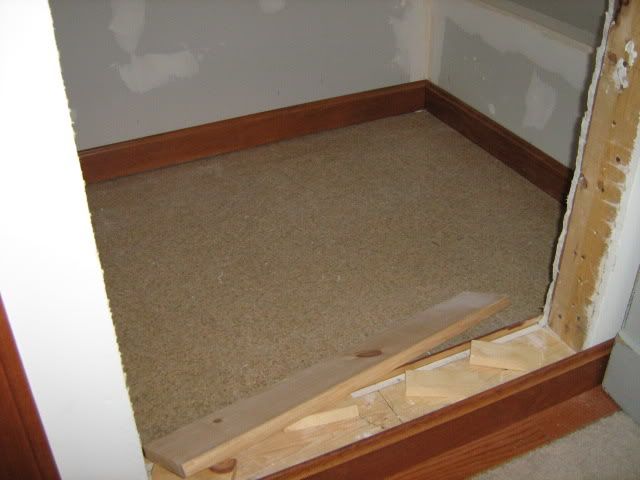
The contractor had installed baseboard across the bottom of the opening, and there was also framing down there. So my first task was to install a few spacers and then put in a sill, that would stick up a bit over the baseboard. The baseboard is pine, so just leaving it hanging in space would be asking for it to get broken. So I rounded over the corners on a length of pine board with the router, and installed the sill:
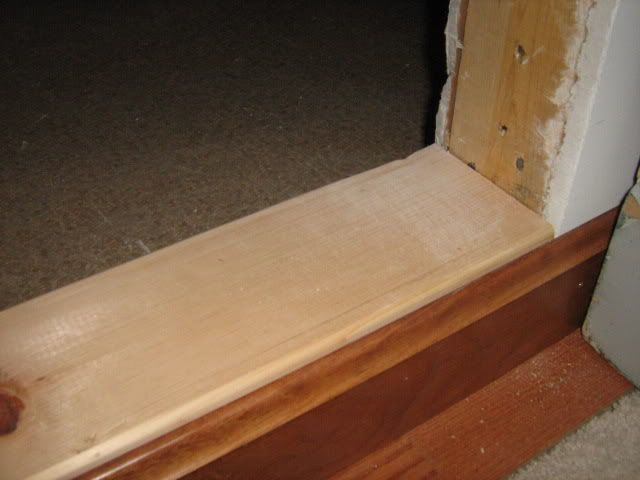
I also covered bare bits of the stair with a scrap of luan plywood (leftover from the backs of bookcases) and a bit of trim, and painted the inside of the closet. Why? I have no idea. I just felt compelled to do it. Apparently I felt compelled to paint my knees and elbows as well- the space was a tad too deep to paint from the outside- and kind of a tight fit for a painter to crawl into and paint from the inside. But I persevered.
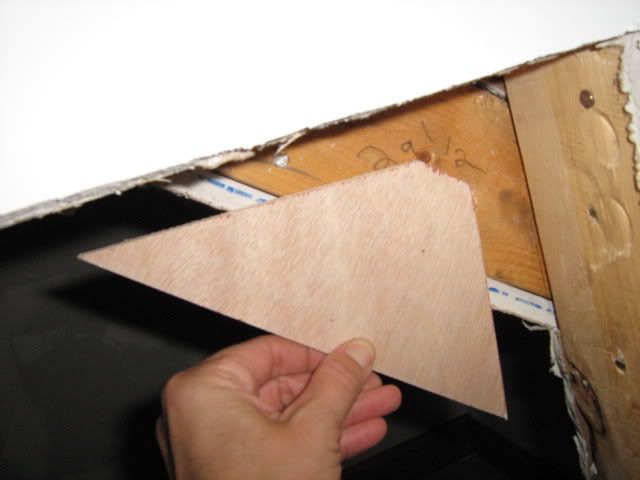
Next step was to figure out the size of the door. Of course the opening wasn't square, so I left a little clearance plus space for the frame and arrived at an estimated size. Then I took a chunk of hollow-core door (left from the other door- I had two spares, but why cut up a door if you don't have to?) and cut it down to finished size.
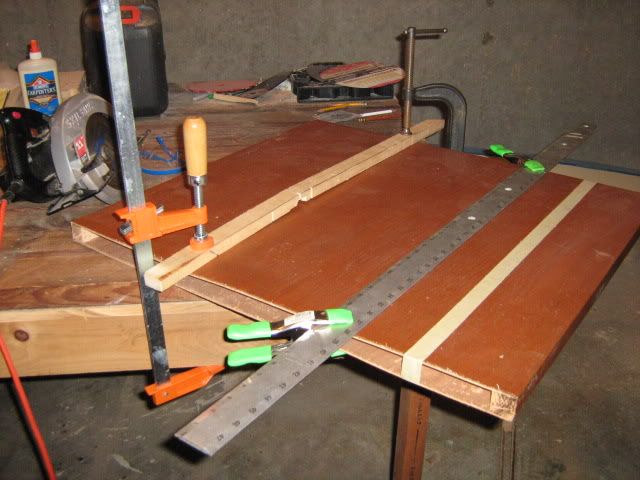

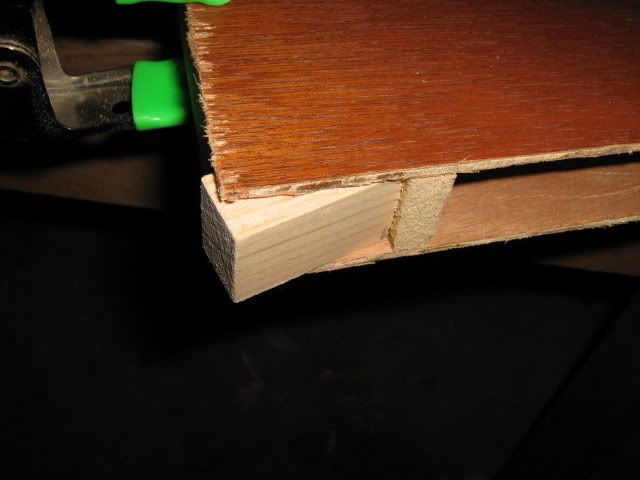
Of course now you can see that the door isn't solid. (Have you ever wondered what was inside a door? I can now tell you that they have spacers made of chipboard or something similar.)
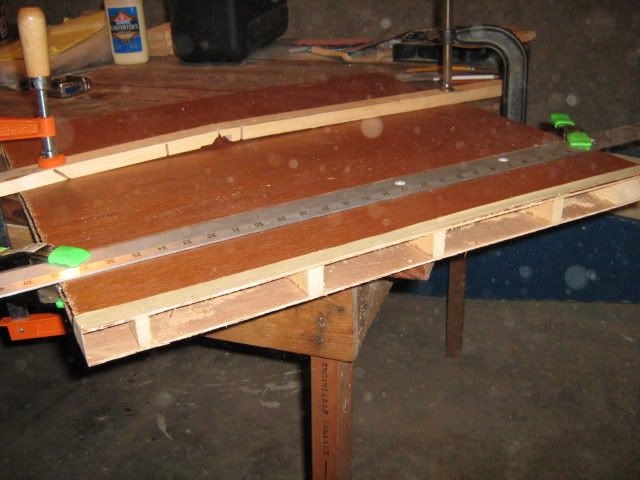
In order to give the door a solid edge all around, I cut pieces of scrap wood to exact size and fitted and glued them all along the unsupported edges.
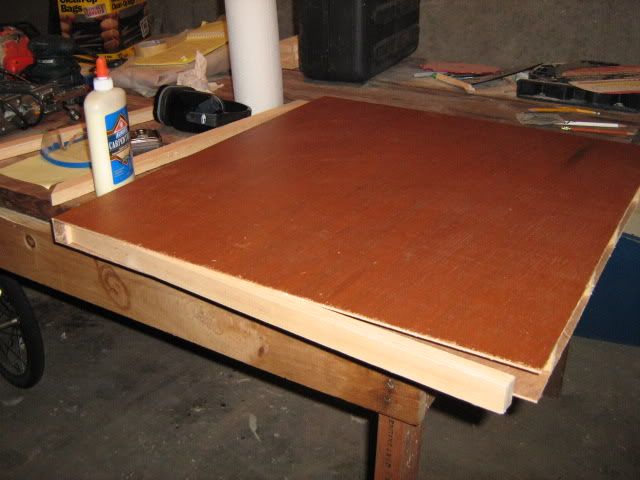
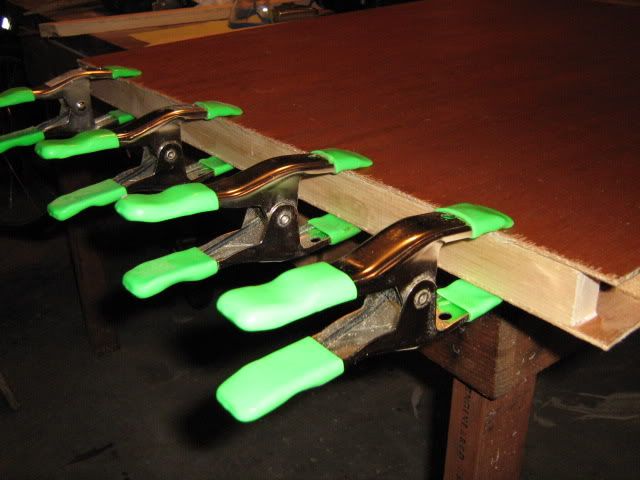
This was done in stages- mainly because I didn't have enough clamps to do two sides at once- but this is a good place to break. Next post, building the doorframe, mortising hinges, and prehanging the door.

No comments:
Post a Comment