Fortunately, there isn't any need to do that. My plan (on advice received)was to build a door frame and 'pre-hang' the door. I cut a top lintel a bit wider than the door, and side pieces a little longer than the door-plus-lintel combination. Then I test fit the whole mess in the door opening. Several times. (This involved a lot of trying to balance three boards at once while cursing and dropping them. I believe that part could be omitted, though I'm not sure how.)
Then it was time to mortise hinges. (The mortise is the little recess on the door and doorframe that the hinge fits into so that there's room to close the door without leaving a huge gap on the hinge side.) This was a part of the project to which I devoted a lot of thought. Traditionally mortising is done with a chisel. Which not only I didn't have, but I strongly suspected that doing it well would take a fair bit of practice that I also didn't have. But I do have a router, and with some thought, I came up with a jig to let me produce mortises the right size for my hinges. After carefully measuring locations on both the frame and the door, I cut.
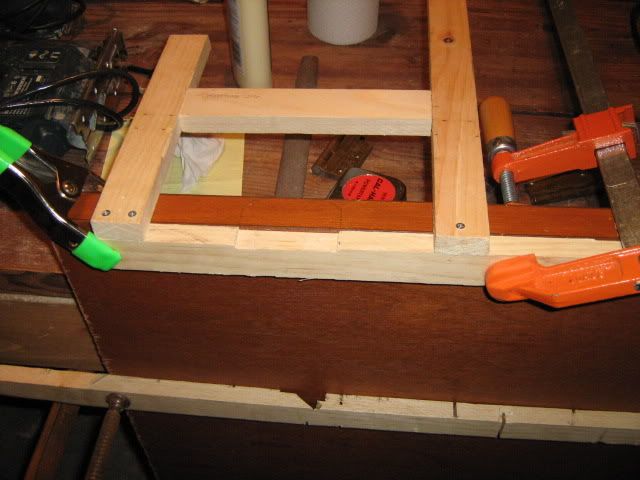
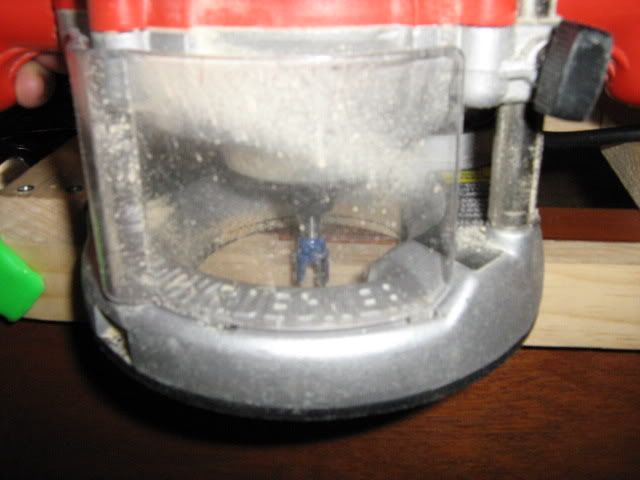
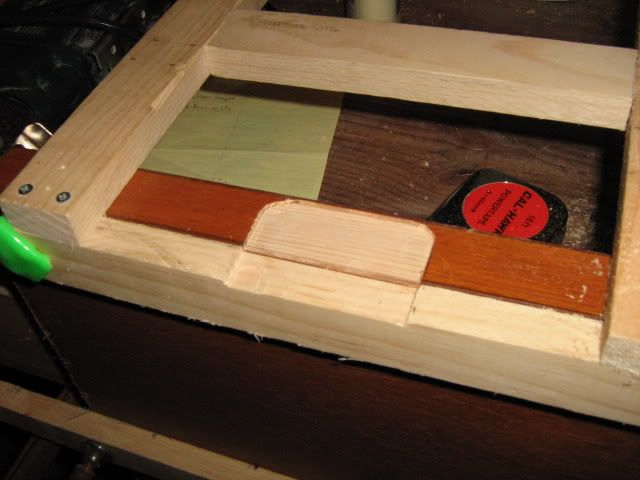
I would strongly recommend not wearing a shirt with a low neckline for this operation , as it generates a lot of sawdust. And here's the doorframe.
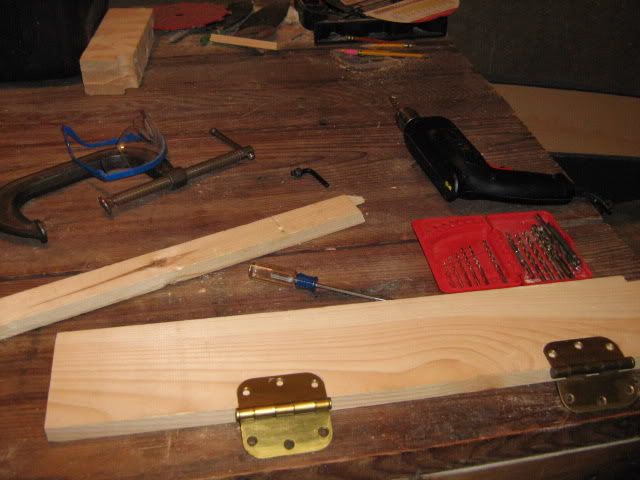
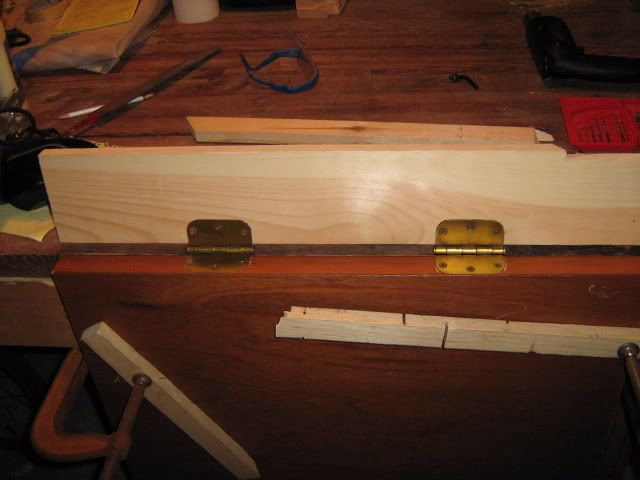
With the door now hinged to one side of the doorframe, I nailed the remaining pieces of the doorframe into a U-shape around the door and laid the whole thing flat on the table. That meant the the door and frame were all on the same level. I took strips of trim and nailed them to the frame behind the door to act as a jamb. (That being the stop that prevents the door from getting pushed into the closet and ripping the hinges out of the wood. Never underestimate leverage.)
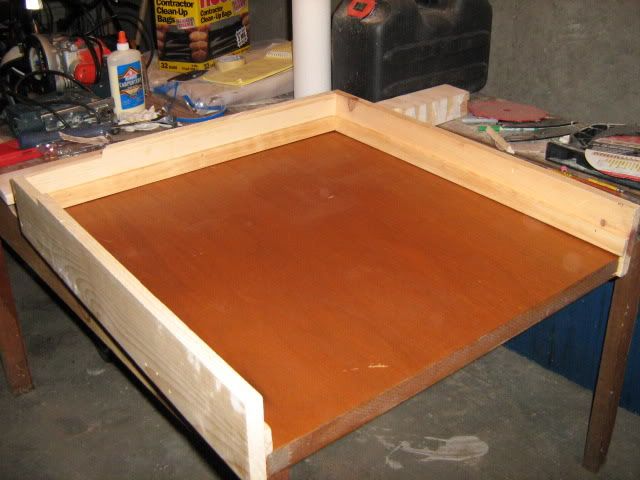
Now was another good time to recheck the fit. And a good thing I did, since the door hole wasn't really square, and I'd been a little too aggressive in trying to get a tight fit. Some filing and planing of the outside of the door frame ensued. Once everything fit, I took the door out of the frame and stained the frame (never stain in situ if you can avoid it, that's my plan). Also, I stained the edges of the door where I'd filled in the scrap lumber.
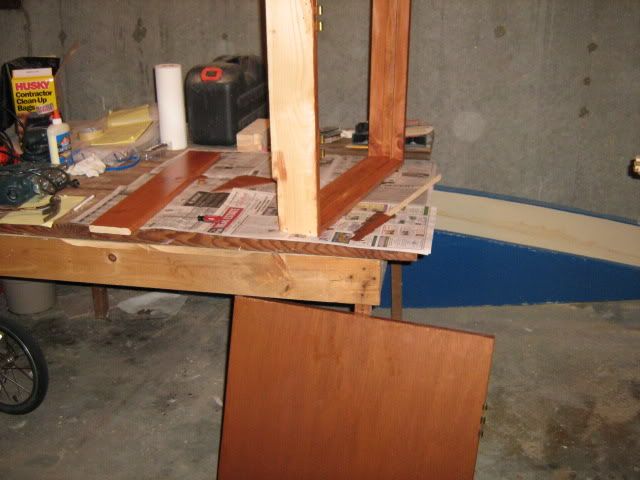
Then it was finally time to install. This is another highly technical procedure. You put the door into the opening, hammer in bits of wedge-shaped scrap lumber to keep it from moving around, realize that the door is too tight. Curse a lot. Take the wedges out and cut them thinner. Put a level on it. Realize that the hammering has disturbed the level. Finally get everything precariously into balance, and put a bunch of long nails through it to hold the frame in the door opening. Then obsessively recheck levels and finally? Open and shut the new door twenty or thirty times- just because you can.


And last but not least, you cut some trim and nail it over the juncture of the door frame and door opening to hide the mess of wedges and nails back there. Just on the outside, because fortunately I'm not so anal as to worry about what someone hiding in the closet with think of my workmanship. (It was kind of a relief to discover this, after the whole painting thing.) The trim incidentally, was the bit that took a long hiatus before I finally finished.

I used a spare knob I had lying around, since this was such a funny little space and so low, I wasn't concerned about having an actual knob that turned. I also adjusted it to have just enough friction with the door frame to hold it closed without the need for a latch. The other two doors I mentioned? They were a little larger, and so I actually cut out the part of the hollow-core door that had the doorknob, and put in the strike plate, using the router again to cut out the space where the latch goes. Those got finished first, due to the one opening into the dining room (and therefore public) area of the house.
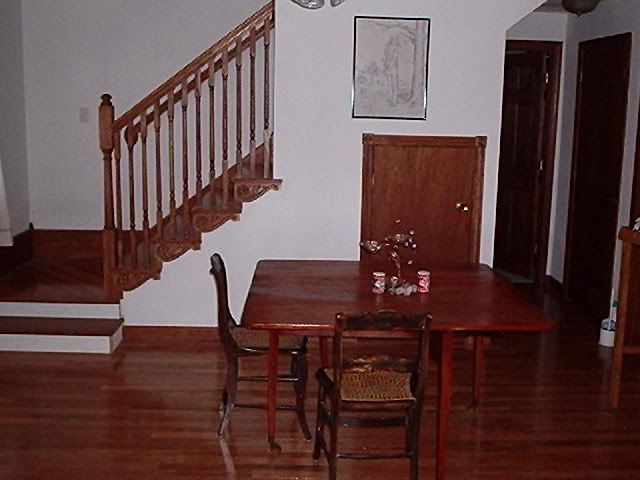
And boy, is it good to have this done. I can't say that hanging doors is the sort of thing I'd recommend to someone looking for a good time. But in the interest in saving a fortune in custom carpentry, I'm very glad to have done it. Or in other words? It feels so good when you stop.

Wow!!!! And I thought knitting was hard!!!!
ReplyDeleteCongratulations!!
That's so cool!!! You did it!!!
ReplyDelete